When a DIY Mistake Makes the Result Better
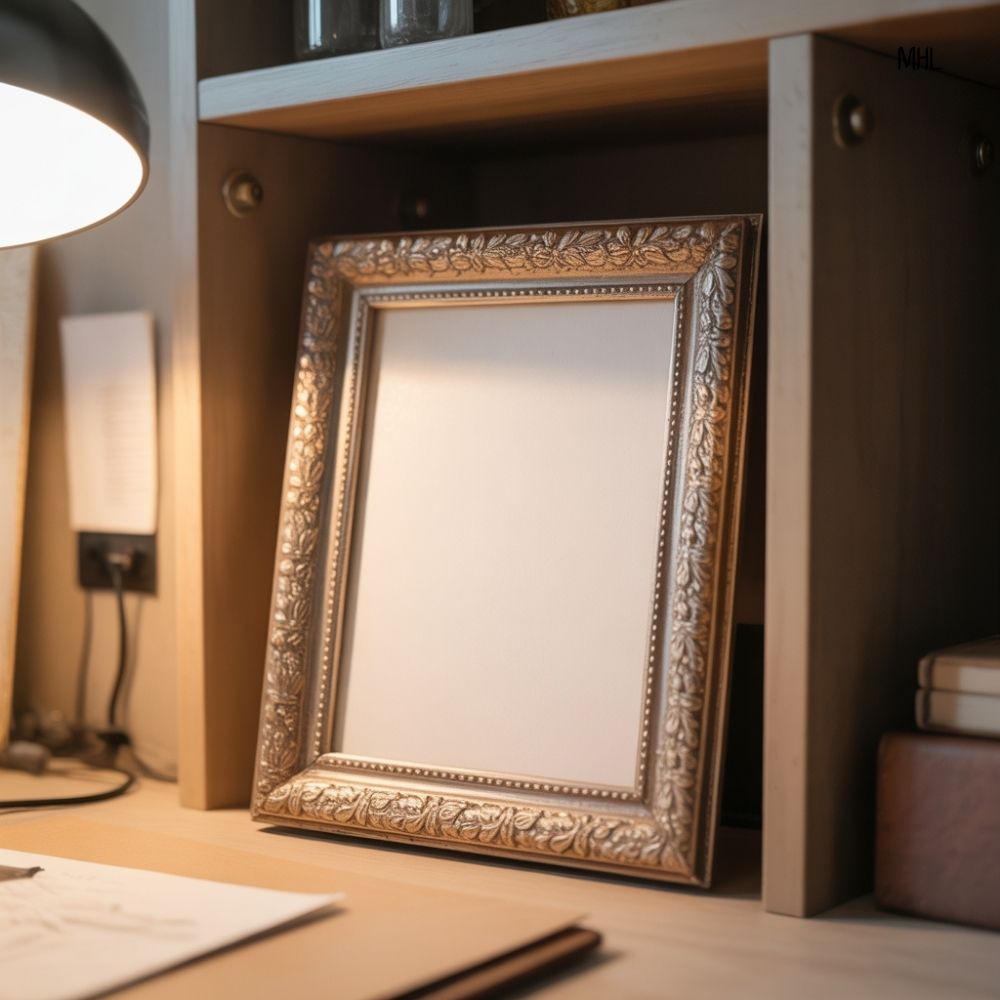
A thrifted frame came home on one of those hopeful afternoons where it feels reasonable to believe a single small project might unlock organization, composure, and a slightly more adult version of life. The frame itself felt promising. A pretty edge. The right size for the narrow wall near the desk. In theory, it would…
A thrifted frame came home on one of those hopeful afternoons where it feels reasonable to believe a single small project might unlock organization, composure, and a slightly more adult version of life.
The frame itself felt promising. A pretty edge. The right size for the narrow wall near the desk. In theory, it would hold something meaningful, a photo, a print, or at the very least provide visual distraction from the pile of receipts still being referred to as “paperwork.”
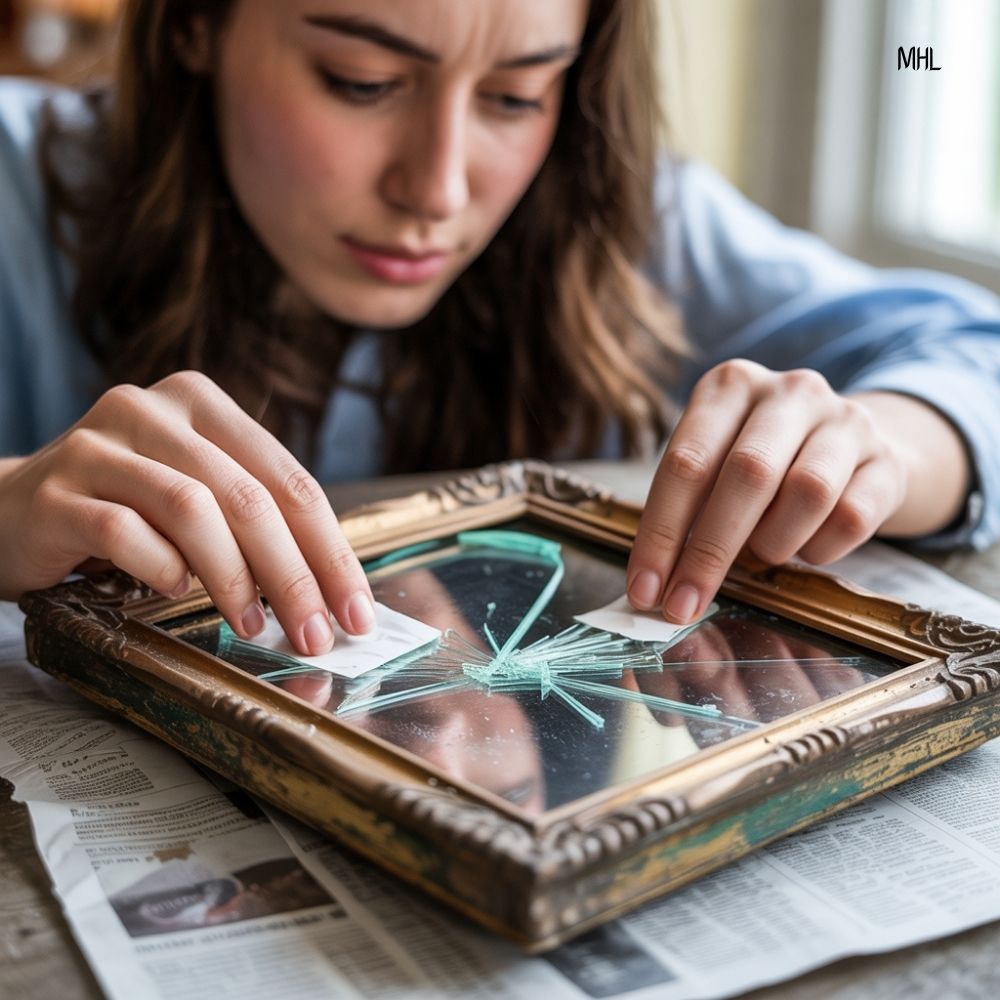
Care was taken on the drive home, the frame placed on the passenger seat like something fragile and important. Pride showed up early. Then a stoplight arrived too quickly, the brakes were pressed a little too firmly, and the glass made that unmistakable cracking sound that instantly rewrites your mood.
By the time the car was parked, the damage was clear. Shattered glass scattered in that sparkly, dangerous way that makes you pause while your brain runs through regret, cleanup, and the possibility that the project might already be over before it began.
Embarrassment followed, even with no witnesses. So did the familiar urge to end the discomfort quickly by throwing the whole thing away, because discarding something is often the fastest way to stop feeling disappointed, even when it’s not the most thoughtful choice.
What mattered later, and what made this the best thing made all week, was the shift that came next: accidents don’t always ruin the process. Sometimes they quietly change the direction in a way that’s more interesting, more honest, and far more forgiving than the original plan ever was.
The Car Cleanup That Forced Me Into a Pivot
Before I could even think about what the frame could become, I had to deal with the glass, because broken glass is one of those problems you treat with respect.
I didn’t grab it with my hands, and I didn’t shake it out like it was glitter, because that is how you end up finding tiny shards for weeks.
Instead, I kept the frame flat, carried it carefully inside, and did my cleanup in a slow, slightly annoyed, very cautious way.
While I was doing it I kept repeating a thought that always helps me when something goes wrong: the pivot starts when you stop trying to undo what happened and start working with what’s true.
What I Used
Materials
- Broken frame (glass removed)
- Fabric (cotton, linen, canvas, or even a scarf you never wear)
- Cork sheet, foam board, cardboard, or the frame’s original backing
- Staple gun or hot glue gun
- Scissors
- Ruler or tape measure
- Pencil
- Optional: batting for a softer “padded” look
- Optional: ribbon or elastic for crisscross memo straps
- Thumbtacks or push pins
Step 1: Safe Glass Removal and Cleanup
I put the frame on a towel on my kitchen counter and kept it flat so the shards didn’t shift. Then I wore shoes, because barefoot plus glass is a mistake you only make once if you’re lucky.
I carefully lifted out the biggest pieces first using a folded paper towel as a barrier, and I pressed tape gently against the remaining small fragments to lift them out without pushing them deeper into the frame edges.
If any bits were stuck along the inside lip, I used the edge of a credit card to nudge them loose, then lifted them with tape. Once the frame was empty, I wiped it down with a slightly damp disposable cloth and threw that cloth away immediately.
Then I vacuumed the area and did the “flashlight test,” which is shining a light at a low angle across the surface to catch any sparkly shards you can’t see from above, and I repeated that until I felt confident I wasn’t going to find glass later with my elbow.
This was my first pivot moment, because instead of being mad that the frame wasn’t going to be a photo frame anymore, I started thinking, “Okay, the glass is gone, so what does this want to be now,” and that question is the reason I finish projects instead of abandoning them.
Step 2: Decide the New Purpose
At first I considered replacing the glass, but that would have meant measuring, buying, cutting, and dealing with the whole “do I trust myself with glass again”. What I wanted was something useful, cute, and doable, and I wanted it quickly.
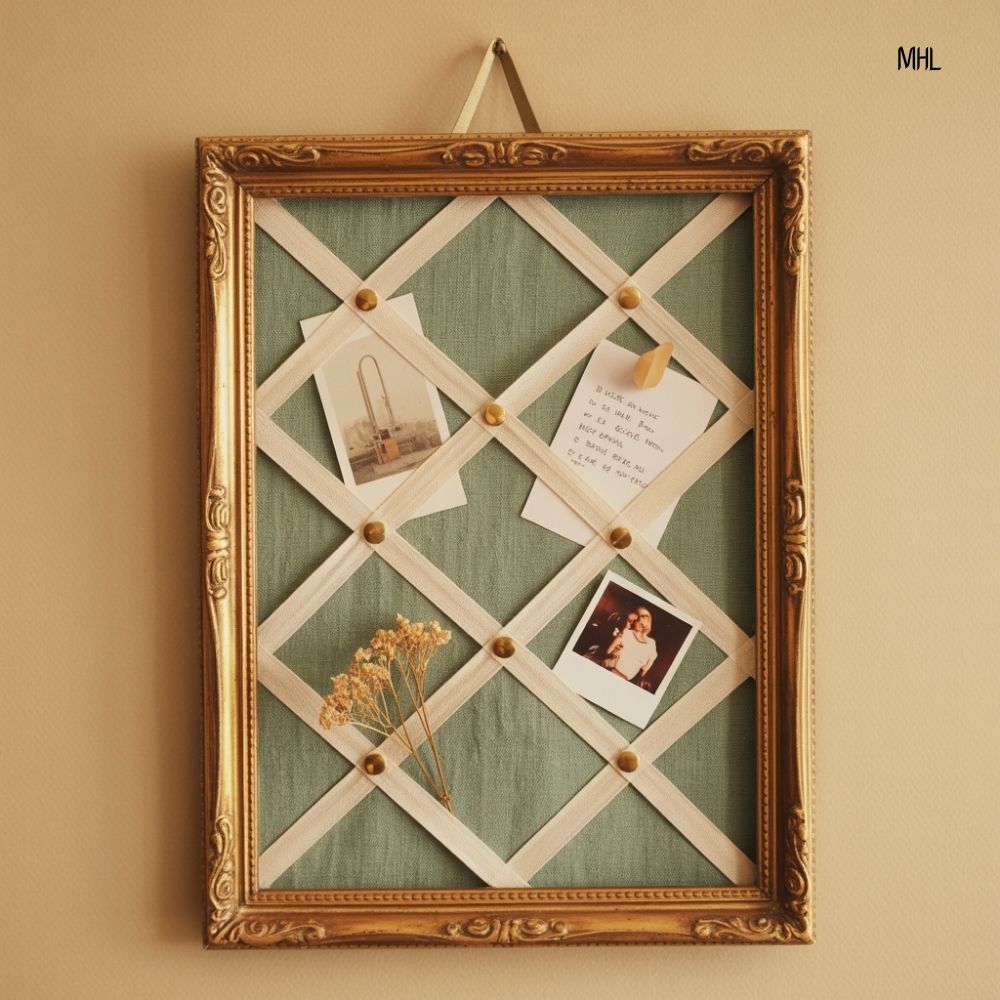
That’s how I landed on a fabric memo board, because it’s practical, it looks intentional, and it uses the fact that the glass is gone as a feature, not a flaw.
Step 3: Measure and Cut the Backing
I pulled out the frame’s original backing, and if your frame doesn’t have one, you can use foam board, thick cardboard, or a cork sheet, as long as it fits snugly. I traced the backing onto the fabric with about 2 inches of extra fabric on each side.
If I wanted a softer, more padded board, I would cut a piece of batting to the same size as the backing and place it between the backing and the fabric. I didn’t need it for this one, but it’s an easy upgrade if you want that plush look.
Step 4: Wrap the Fabric Like You’re Wrapping a Gift
Here’s the part I messed up in the past, so you don’t have to: if you pull fabric tight in one direction without checking the front, you end up with wrinkles that you only notice after you’ve stapled everything down like you were angry at it.
So this time I laid the fabric face-down, centered the backing on top, then folded one long side over and stapled it in the center first, not at the corners, because the center staple anchors the fabric.
Then I pulled the opposite long side snug, smoothed the front with my hand, and stapled the center there too, and after that I worked outward from the center, stapling every couple inches while smoothing as I went.
This was another pivot message moment for me, because I wasn’t trying to erase the accident, I was trying to make the new version clean and intentional, and that’s what pivots are, they’re not messy compromises, they’re conscious choices.
Step 5: Add Ribbon Straps to Make It Look Fancy)
If you want the board to hold notes without pins, ribbon straps are such a cute upgrade, and they make the whole thing look like something you bought at a home store.
I laid ribbon across the front in a diagonal pattern, about 3 to 4 inches apart, then taped the ribbon ends to the back temporarily so I could check spacing from the front before committing.
Once it looked balanced, I stapled the ribbon ends to the back, pulling them snug but not so tight that the ribbon warped the fabric, and I did the same in the opposite diagonal direction if I wanted a crisscross grid.
Step 6: Put It Back in the Frame and Secure It
I slipped the wrapped board into the frame where the glass used to be, and it fit perfectly because I used the original backing as my size guide.
Then I secured the backing with the frame tabs, or with a small piece of tape if the tabs were loose, and I gave it a quick shake test to make sure nothing rattled, because rattling is a sign something will annoy you later.
Why This Became My Best Project of the Week
When I hung it near my desk, it looked genuinely cute, like a soft, textured little piece of functional decor, and it was more useful than a photo frame would have been in that spot because now I could pin receipts, notes, and random reminders that I keep losing.
It turned a moment that felt like failure into something I was excited to use, and the satisfaction wasn’t just about the finished board, it was about the fact that I didn’t quit.
I think a lot of us treat a mistake like a stop sign, but it’s usually just a fork in the road, and the pivot is where you decide your project is still worth finishing even if it’s not the original plan.
Here’s the part I messed up, so you don’t have to, and here’s the message that carried me through the whole transformation: pivots are not failures, they are the moment you choose progress over perfection.
Your Turn
Tell me about the last thing you “ruined” and then saved, because I swear those are the projects that end up meaning the most, and if you want, tell me what color frame and fabric you’d choose for your own memo board so I can picture the whole vibe.